If your tiny kitchen always feels crowded, the problem may not be the size of the room. Most small kitchens feel messy because daily items, pantry goods, cleaning supplies, and cookware are all mixed together without clear zones. When everything is stored everywhere, you constantly spend time moving jars out of the way just to chop an onion.
In this guide, we walk through a real renter-friendly kitchen reset. We will show you how we took a cramped 50-square-foot L-shaped apartment kitchen and turned its awkward deep corners, crowded countertops, and lack of pantry space into beautifully organized, calm storage zones — without doing any permanent drilling or remodeling.
Why Tiny Kitchens Feel Cluttered
Before buying clear bins or beautiful labels, it is important to understand why tiny kitchens default to chaos. A standard large kitchen has enough room to tolerate unorganized drawers. A tiny kitchen does not. In a small space, “visual noise” builds up fast. Visual noise is the clutter of mismatched packages, appliances crowding the counter, and items stored in the open.
When you have limited countertops, every single item left in the open reduces your daily workspace. Deep corner cabinets become “black holes” because they are deep and hard to reach. Renters often shove pots in the corner and never see them again. The solution is not to buy a bigger house — it is to install smart systems and create clear boundaries.
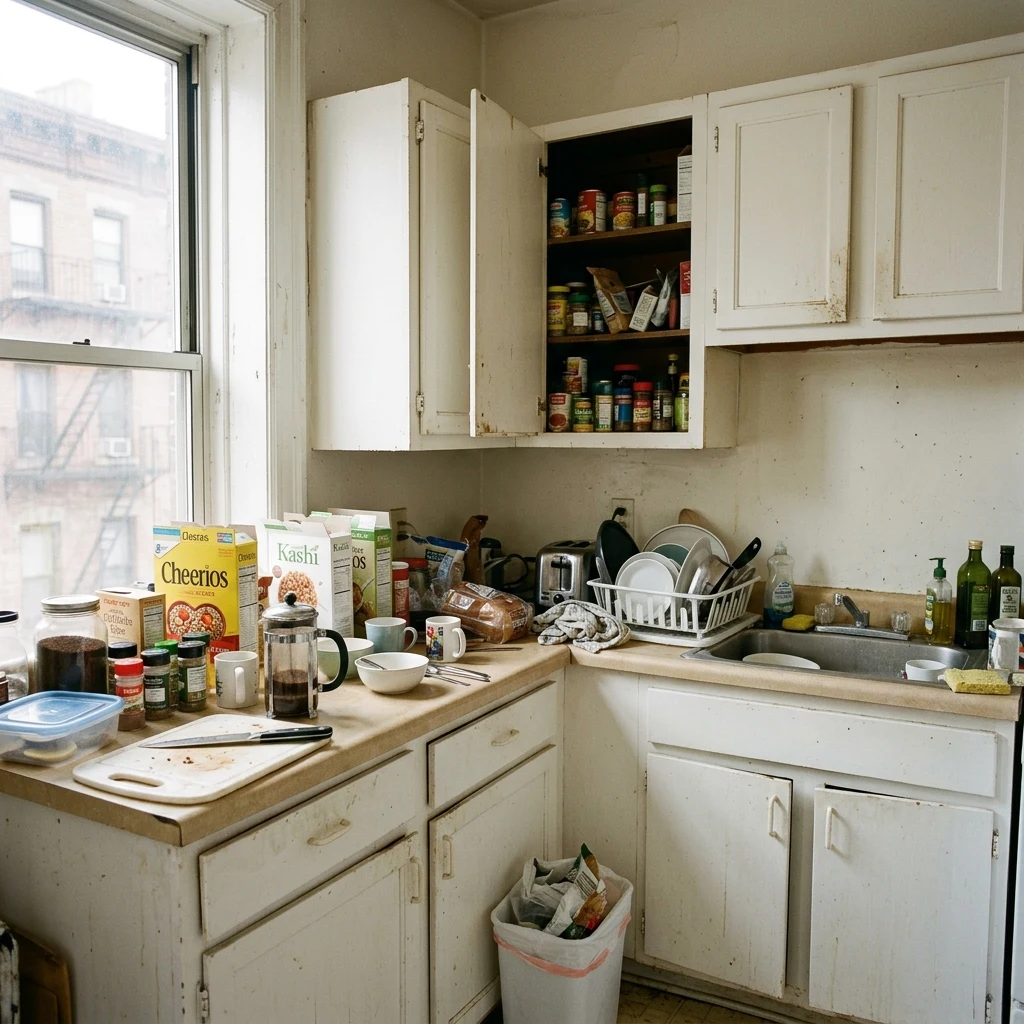
Before the Reset: counter visual noise and unorganized deep corner cupboards.
Step 1: Clear Visual Clutter
The first step in our reset is to clear visual clutter. Visual clutter is anything that makes the eyes work harder. This includes cardboard packaging, mismatched cereal boxes, and random tools stored on the counter. Cardboard boxes take up 30% more space than the food inside them because they are designed for shipping, not storage.
We started by removing all items from the countertops. Only three daily essentials were allowed back on the counter: the coffee maker, a cutting board, and a simple ceramic jar holding our everyday cooking spoons. Everything else had to find a home inside the cabinets or on rental-friendly vertical storage.
Step 2: Divide the Kitchen Into Zones
A functional kitchen relies on zones. Zones group items by how they are used, not what they are. We divided our tiny L-shaped kitchen into five clear, functional zones:
- Prep Zone: Near the cutting board, containing knives, mixing bowls, and spices.
- Cooking Zone: Right next to the stove, holding everyday pots, cooking oils, and spoons.
- Coffee/Morning Zone: An aesthetic corner countertop setup with the kettle, coffee canisters, and mugs.
- Pantry Zone: Grouped inside a double cabinet containing clear bins for dry foods.
- Cleaning Zone: Under the sink, with organized sprays, soaps, and trash bins.
Free: Tiny Kitchen Zones Checklist
A simple, printable PDF to help you declutter and divide your tiny kitchen into 5 stress-free functional zones.
Download Free PDFStep 3: Use Wasted Corners
L-shaped kitchens always have a deep, awkward corner. To prevent this corner from becoming a dark hole, we installed a renter-friendly under-cabinet organizer. We used narrow pull-out baskets and vertical plate racks. By stacking plates vertically rather than horizontally, we reclaimed 40% of the shelf height.
For the countertop corner, we created the “Coffee Zone.” Because this corner is deep, it is the perfect spot for the coffee maker. It keeps the appliance out of the primary prep area while keeping the countertop looking intentional and uncluttered.

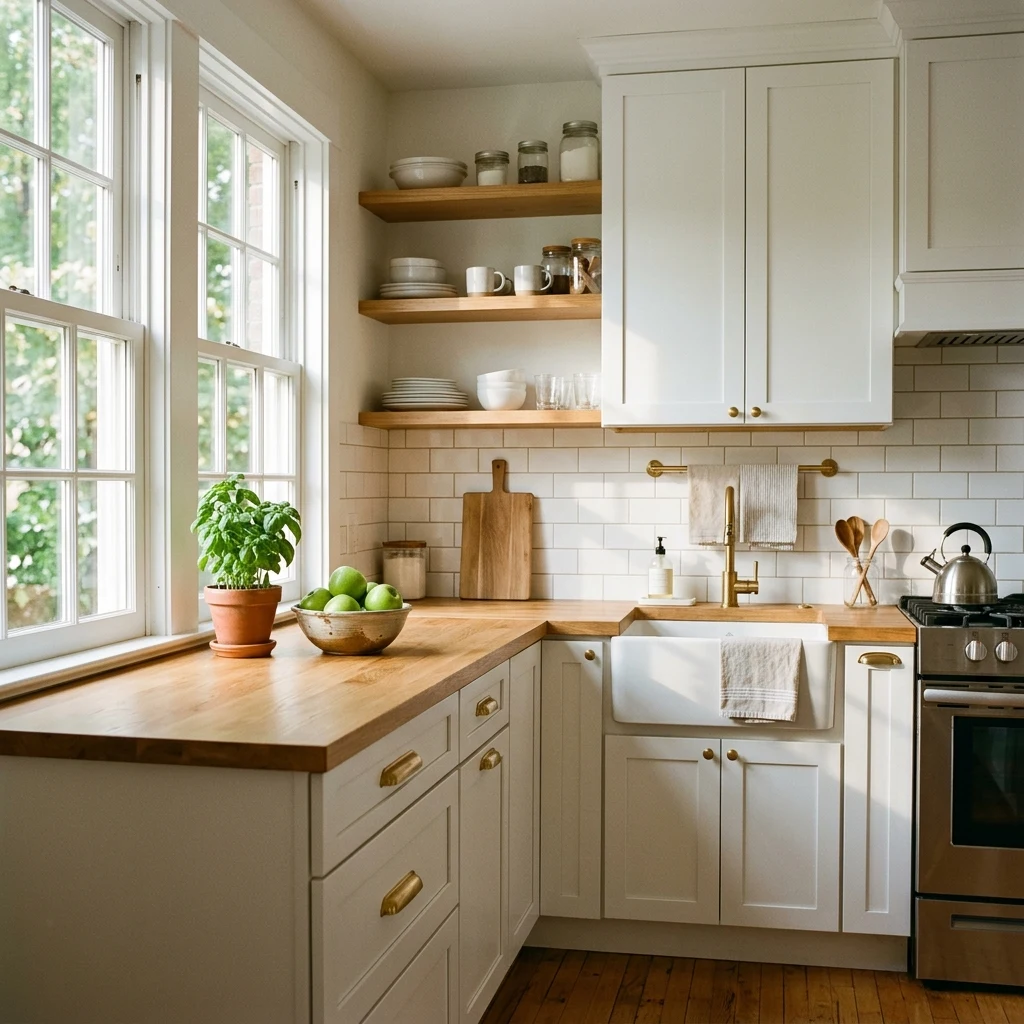
After: Dynamic vertical plate racks and narrow pull-out organizers make every item easy to reach.
Step 4: Build a No-Pantry System
If your apartment does not have a built-in pantry closet, do not panic. We created a gorgeous “cabinet pantry” system inside two standard cabinets. We emptied cereal boxes, dry grains, and pasta into matching clear acrylic containers. This serves two purposes: it seals the food to keep it fresh, and it lets you see exactly how much cereal is left at a glance.
We grouped smaller items like spice jars and tea bags into labeled baskets. This allows us to pull out the entire “tea basket” at once rather than digging through the back of a dark shelf. The visual unity of matching clear bins instantly makes the cabinet feel calm and premium.
Step 5: Keep Daily Essentials Easy to Reach
A golden rule of small-space organization is: the frequency of use determines the storage height. Items used daily must be stored between hip and eye level. Items used weekly go on lower shelves or slightly higher, and items used monthly (like a holiday serving platter or baking mixer) go to the very top shelves.
By moving rarely used baking pans to the high top cabinet, we freed up the prime middle shelf next to the stove for cooking oils, salt, and daily spices. Cooking now feels incredibly smooth because everything we need is within arm’s reach.
Step 6: Create a Weekly Reset Routine
Even the best organization system will fall apart without maintenance. In a tiny kitchen, a single unwashed mug can ruin the visual calm. That is why we recommend a 10-minute “Weekly Reset Routine.” Every Sunday evening, take ten minutes to reset your kitchen: wipe down the countertops, empty the trash, check the pantry bins, and ensure all daily items are back in their correct zones.
Conclusion
Your tiny kitchen does not need a massive budget or a major renovation. By clearing visual noise, establishing clear zones, maximizing awkward corners, and adopting a simple weekly reset routine, you can turn a cramped renter space into a calm, functional home sanctuary. Start with one zone today!